My nephew recently made a list of all the things he wants to do or learn in his life. A nice variant of a bucket list. I never make lists like that, because my motto is ‘My life never runs the way I planned’.
Like I never, really never, thought that I would make a concrete staircase myself.
never thought I… 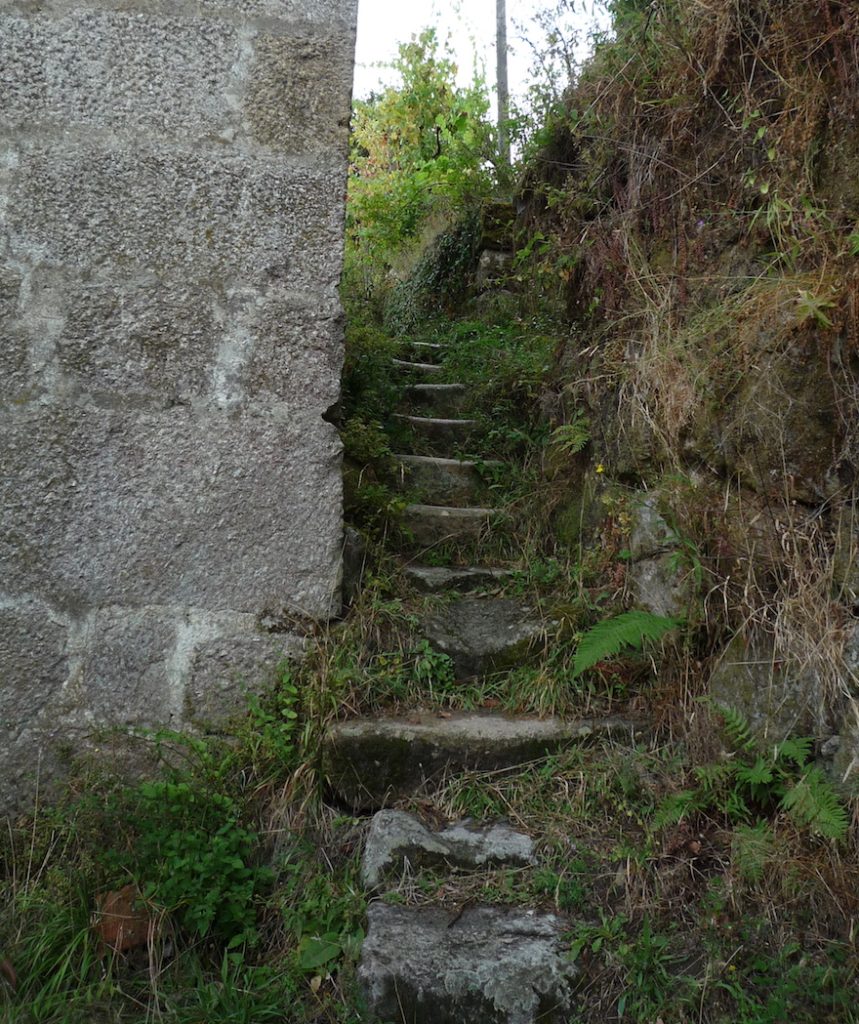
one of our old stairs
Our old Portuguese stairs were terrible. Beautiful to see, but a disaster to take. The treads were all too high and uneven. One of our friends, Nuno and I, all fell off of them, so something had to be done.
Plans for the garden stairs
You can find all sorts of formulas and rules for the design of a staircase. This way you can determine the depth and height of the treads. I wanted to ensure that all stairs in our garden get the same stringers and risers. To do so, I started with the stairs on the lower terrace, because it runs past the house. The stairs take you from the ground floor of the house to the first floor, about 3.5 meters high. Ans there is not much space there to make a really long stair. I opted for 20 steps of 17.8 cm high and a stringer of 25 cm, which gives an angle of 35.1˚.
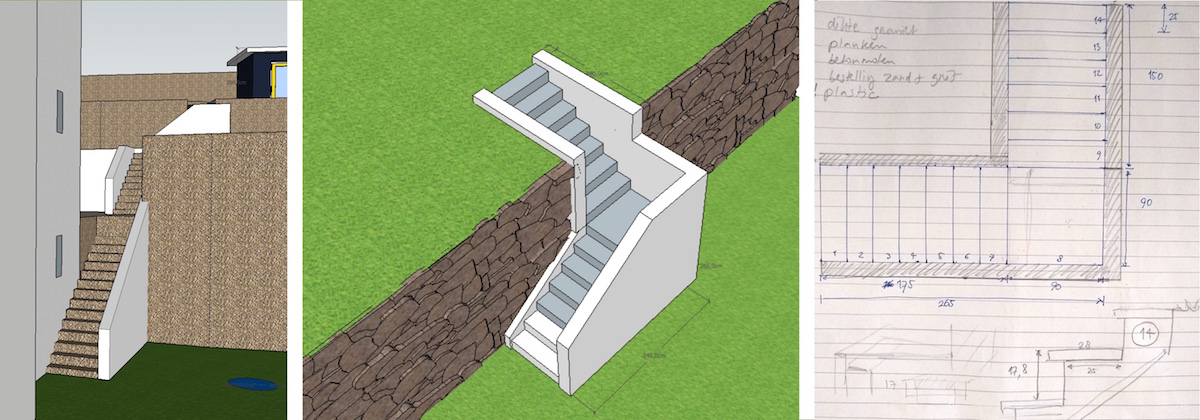
The steps will be covered with granite slabs, with a depth of 28 cm, which makes the stairs more comfortable. With these dimensions, the other two staircases also came out well.
Sketching and with SketchUp we thought of the right locations for the stairs in our garden.
But how?
Then we had to think about how the stairs should be built. We already talked about it with a contractor. He suggested using concrete blocks and covering it with granite slabs. At the time, we thought that was a very bad idea. No, of course it had to be built from solid granite blocks, like the original stairs and terrace walls.
Meanwhile, we know the difference in price between the two and how heavy those stone blocks are: impossible.
So we opted for concrete blocks. We are also building the terrace wall behind our house with them, so then it will all have the same appereance. After we had searched endlessly for a nice and affordable stair gate / railing, and had not found it, we decided to build a ascending wall next to the staircase that can serve as a railing. A concrete staircase would have to be poured between the walls, on an inclined slope of soil and sand. Suddenly it seemed that pouring a concrete staircase was not that difficult and we decided to do it ourselves.
DIY concrete stairs
The first stairs could be our learning stairs. It is the upper staircase, which is not directly in view of the house. We could fuck this up. Ironically, it was the most difficult one having a landing and a corner and having boulder wall as the only straight reference.
First the place had to be cleared: so we dugged away some soil (± 1.5 cubic meters) and removed some large boulders from the old retaining wall.
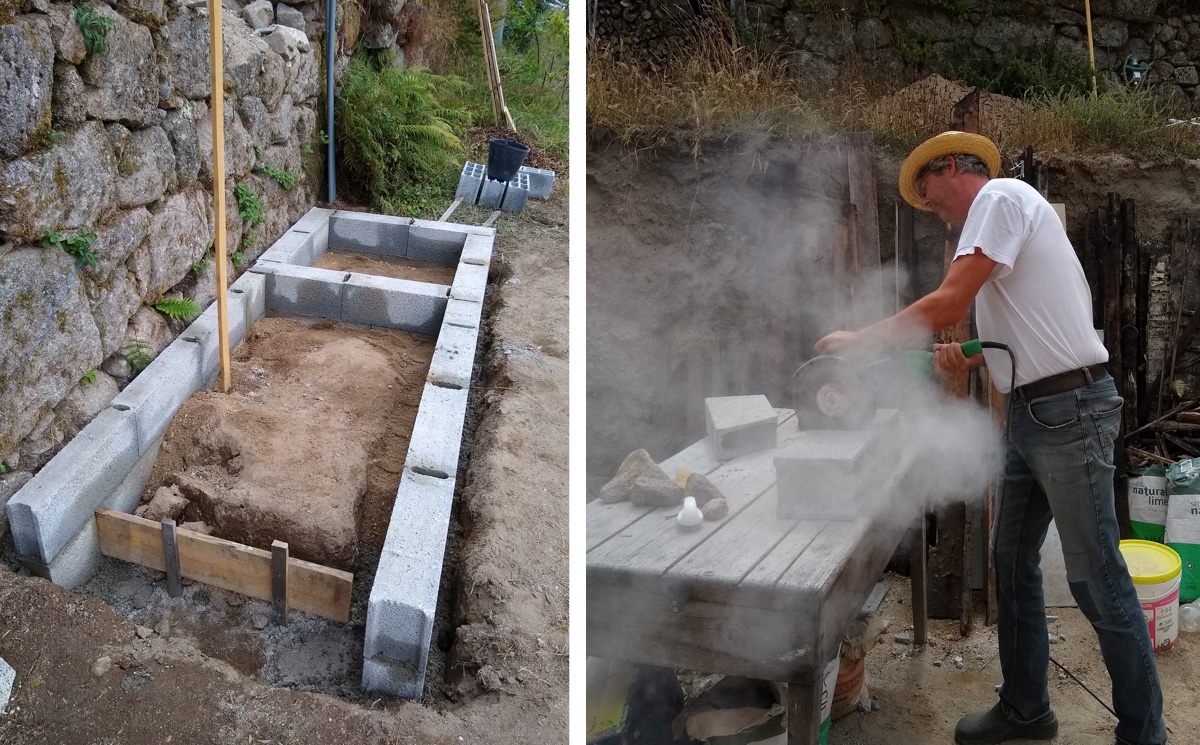
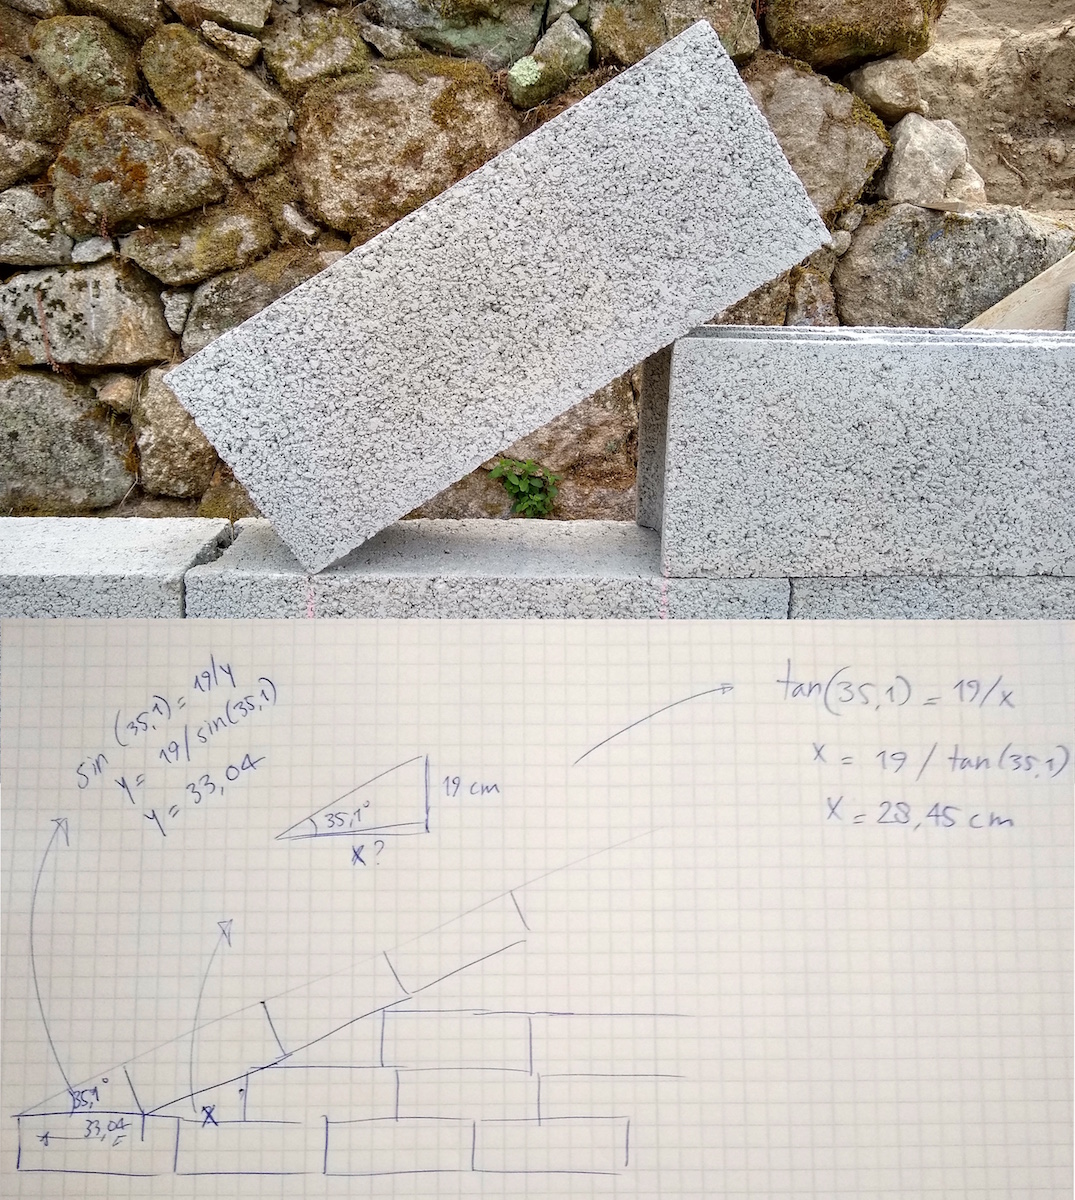
Then we started building the concrete block wall. We hadn’t done that before, but it wasn’t that difficult. It is a kind of big lego. With a water-level, a square angle and a some patience, it worked out pretty well. Only that ascending wall. How do you get it in the same angle as the stairs?
Luckily I used to be a math girl and I remembered that you had to be able to calculate that easily with tangent. I will not claim that I still knew the formula by heart, but I did get a lot of admiration from Nuno (who had never understood it at school).
After that we drew the contours of the steps on the walls and we dump everything full of soil and debris, so that we could start pouring the concrete stairs.
Pouring the concrete
We placed plastic on that pile of soil and debris to prevent the water from the concrete sucking into the soil. Above that came the reinforcement, which we lift off the ground with some stones, so that it would later be in the center of the concrete. We then built the timber formwork for the steps.
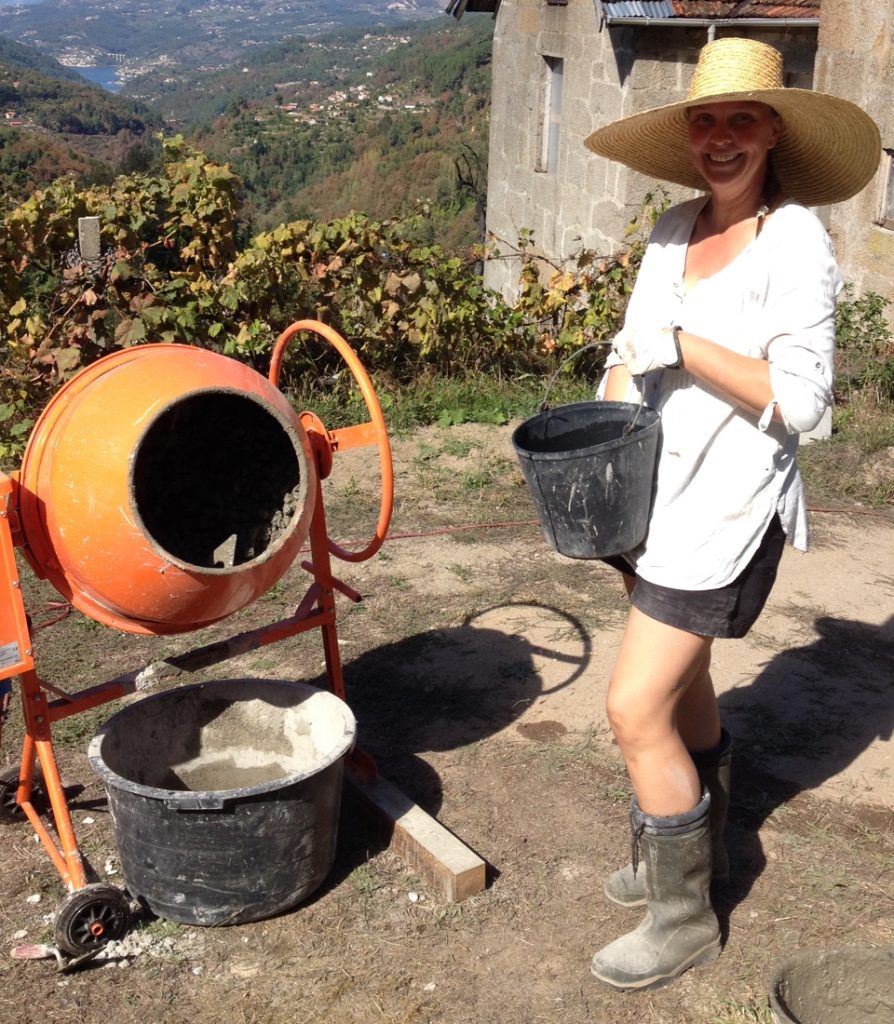
The day after it was full on: 3 buckets of stone gravel, 2 buckets of sand, 1 bucket of cement and a bucket of water were mixed in the concrete mixer into a thick oatmeal. And then woop woop, that thick oatmeal in buckets and pour them in the stairs. For 35 times! During the day it became heavier and heavier, because we had to walk higher and higher up the stairs with those buckets. Almost 2 cubic meters of concrete went in it. Just before dark, we were done (satisfied but most of all tired).

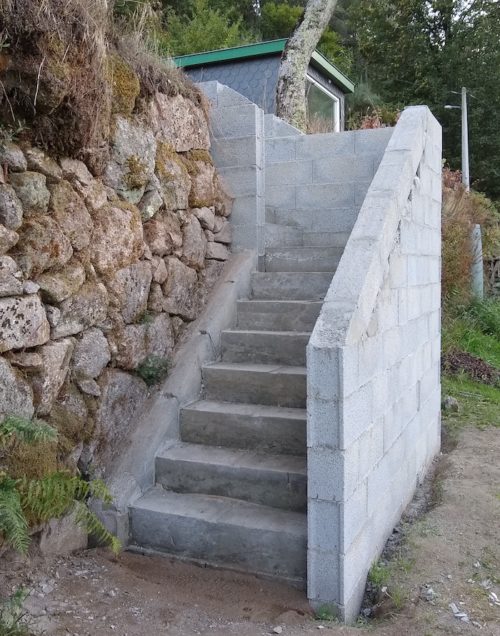
Finishing
The following days we sprayed the concrete with water to prevent the sun from drying the concrete too quickly. And after 2 days we removed the formwork. It doesn’t look bad for the first time. Next time we have to ram a little better and we will make the formwork a bit different so that we can level the treads better. This learning staircase will later be plastered and finished with granite ‘placas’ and then it will look perfect.
check our next post on concrete stairs with more construction details.
Useful Portuguese words
| my nephew | o meu sobrinho |
| concrete | betão |
| cement | cimento |
| sand | areia |
| stone gravel | brita |
| a staircase | uma escada |
| formwork | caixaria |
| wooden planks | tábuas de madeira |
| concrete rod | barra ferro |
| reinforcing mesh | malha sol |
| reinforcement tie wire | arame recozido |
| concrete mixer | betoneira |
| tired | cansado |
08-10-2019
What a great job you did! It looks marvelous and no more stumbling or sour knees. Complimenti!
Thanks dear Gaby! More to come… step by step